Comments Static Site
Comments can be added to a static site. A static site saves you a lot of time compared to a dynamic site (no updates required!). Adding comments conists of two steps: the submission form and the comments.
The comment form I create using Netlify forms and comments are static json files. I chose this because it’s easy to maintain and migrate json files. So the comments are static comments, simply json files. The only interactive part is the Netlify form.
Requirements:
Comment form
Visitors should be able to write comments. A submission form is required. I’ve seen many websites use disqus or other data-hogs (that aren’t free). So can you do it for free or cheap? yes, you can. See Netlify price page
The solution is to use Netlify forms. A nice addition is that it comes with spam-filtering by default. It uses Askimet for that. I added recaptcha to further stop spammers, this is an optional field in the form below.
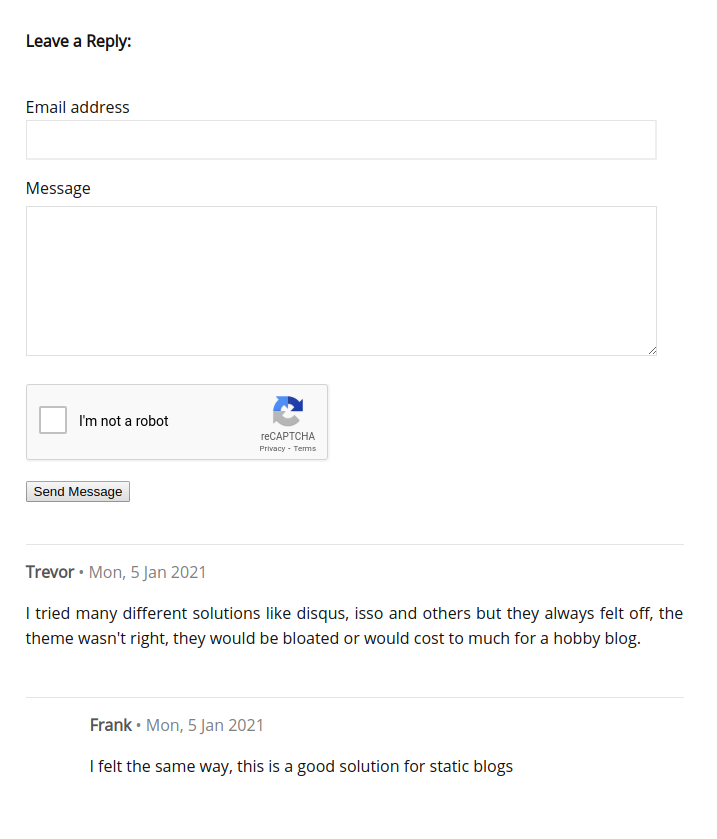
Simply add the form below to your articles. Change the name bsdContactForm to a form name that makes sense for your site. Then change the contact-form-url to display your post url. This is the url the person commented on, I’m using hexo static blog instead of pelican or hugo, so change it to the one for your blog.
<form
    name="bsdContactForm"
    method="POST"
    data-netlify="true"
    data-netlify-recaptcha="true"
    id="simple-contact-form"
    class="contact-form"
>
    <p class="form-row">
        <label id="contact-form-email-label" for="contact-form-email" class="form-label">Email address</label><br>
        <input type="email" name="email" id="contact-form-email" aria-labelledby="contact-form-email-label" class="pcomment-input" />
    </p>

    <p class="form-row">
       <input type="hidden" name="url" id="url" for="contact-form-url" value="/<%- page.path %>">
    </p>

    <p class="form-row">
       <label id="contact-form-message-label" for="contact-form-message" class="form-label">Message</label><br>
        <textarea
            name="message"
            id="contact-form-message"
            aria-labelledby="contact-form-message-label"
            class="pcomment-text"
            rows="7"
        ></textarea>
    </p>
    <div data-netlify-recaptcha="true" class="form-row"></div>
    <p class="form-row form-submit">
        <button type="submit" class="button">Send Message</button>
    </p>
</form>
Then you can see submitted forms in your Netlify forms tab. Then click on the respective form. Your website can have multiple forms that are added here.
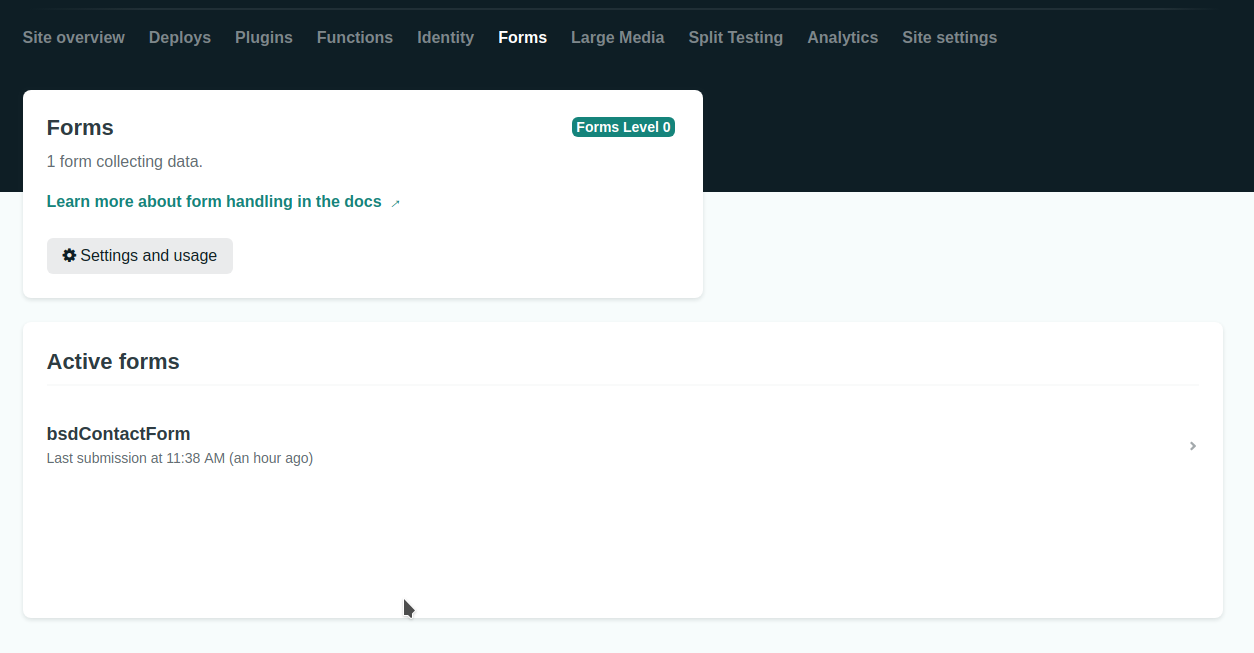
You can then view your comments submissions by clicking on the form. Any form submission will be shown here.
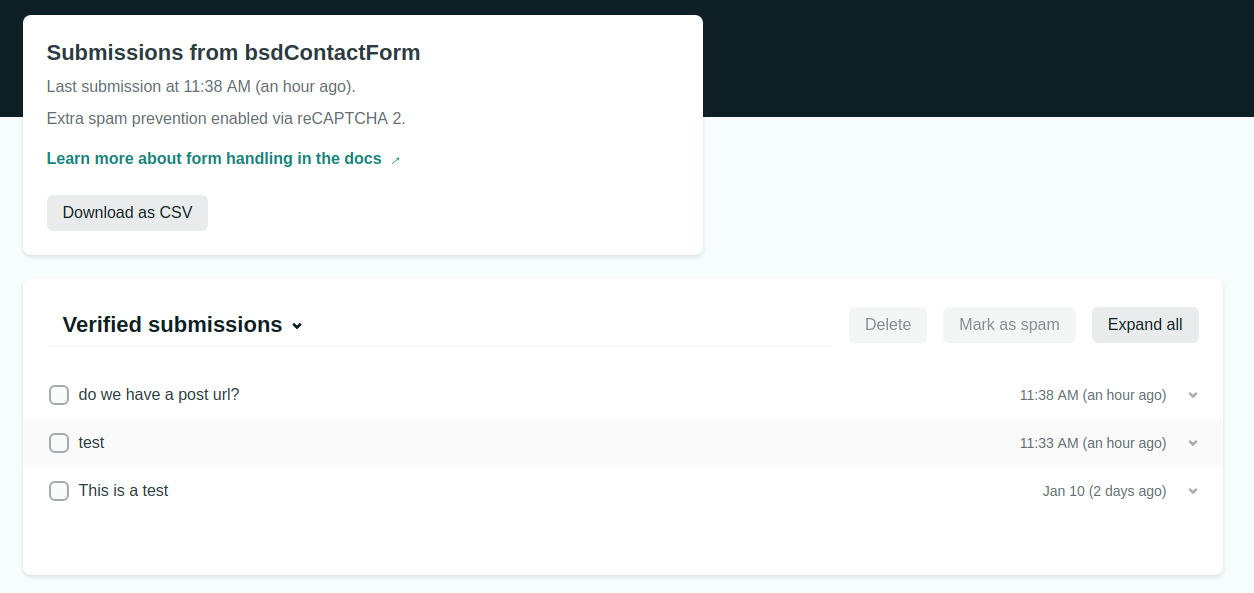
These comments won’t show up in your site automatically, because it’s a static site. You can add those comments yourself manually by creating a json file
Netlify forms support notifications in the site settings tab. You can do email, slack or API POST url notification.
Static comments
I list comments using the code below. I’m using Hexo as static blog generator, but a similar code should work on any other static blog system.
What this does is go over the json file that are stored in /source/_data. It parses it and renders the comments to the blog post.
<% var p = page.path.substring(0, page.path.length - 1); %>

<% for (var i in site.data[p]){ %>
  <div class="pcomment">
   <div class="pcomment-<%- site.data[p][i].indent %>">
     <span class="pcomment-username"><%- site.data[p][i].who %></span>
     <span class="pcomment-date">•</span>
     <span class="pcomment-date"><%- site.data[p][i].createdAt %></span>
     <%- site.data[p][i].message %>
   </div>
 </div>
<% } %>
So there is a .json file for every blog post in /source/_data. For example, the post /hexo-on-openbsd/ has the blog post hexo-on-openbsd.json. This file looks like this:
[
    {
        "createdAt": "Mon, 5 Jan 2021",
        "indent": 0,
        "message": "<p>Thanks, have been searching for hours for this</p>",
        "order": "004836450068",
        "who": "Jules"
    },
    {
        "createdAt": "Mon, 5 Jan 2021",
        "indent": 1,
        "message": "<p>No problem, glad to help</p>",
        "order": "004836450068",
        "who": "Frank"
    }
]
This is the css theme I’ve used for the comments:
/* comments */
.pcomment-input{background:white;border-top:1px solid rgba(0,0,0,0.1);width:96%;height:40px;border-left:1px solid rgba(0,0,0,0.1)}.pcomment{background:white;border-top:1px solid rgba(0,0,0,0.1);padding-top:0.95em}.pcomment-username{font-weight:bold;color:#555}.pcomment-9{padding-left:64px}.pcomment-8{padding-left:64px}.pcomment-7{padding-left:64px}.pcomment-6{padding-left:64px}.pcomment-5{padding-left:64px}.pcomment-4{padding-left:64px}.pcomment-3{padding-left:64px}.pcomment-2{padding-left:64px}.pcomment-1{padding-left:64px}.pcomment-0{padding-bottom:30px}.pcomment-date{color:gray !important;font-weight:normal;text-shadow:none !important}.pcomment-text{background:#fff !important;width:96%;height:150px;color:#000;font-family:'proxima-nova', Arial,Tahoma,Verdana;font-size:15px;padding:10px;margin:5px 0;border:1px solid #dfdfdf;outline:none}
That’s it. You now have comments on your static site, as shown below.
Right now it's hard-coded manually
I tried many different solutions like disqus, isso and others but they always felt off, the theme wasn't right, they would be bloated or would cost to much for a hobby blog.
I felt the same way, this is a good solution for static blogs
The hexo link is dead. How is your json file generated and accessed?